How Do I Track Changes? (Magic xpa 3.x)
Every time a programmer checks out or checks in a program, the VC tool keeps track of what changes were made. The programmer can (and should) write a short note about why those changes were made.
Now, when you want to see what changes were made, and when, and why, you can go to File->Version Control->History. The result will depend on which VC you are using. We’ll show you some results in Source Safe, then in CVS.
You can’t check out Models and Data Sources individually. When you select Edit->Version Control->Check out Object in these repositories, you will check out the entire repository.
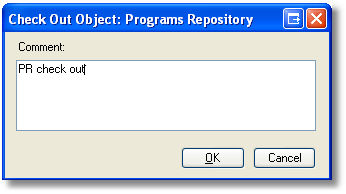
When you want to work on an object in a repository, you will use the command File->Version Control->Check out object. You will be prompted to enter a comment, then the item will be open for editing.
When you are finished, you will use the command File->Version Control->Check in object. Again, you’ll be prompted for a comment.
These comments will show on the change history for the object.
For some changes, such as adding or deleting an object, the entire repository needs to be checked out.
When the programmer tries to do one of these actions, Magic xpa will automatically attempt to check out the repository. The programmer will be prompted for a comment, and the repository will be checked out to that programmer.
To click out the Program repository manually:
-
Position the cursor above the top line, on the header line.
-
Click on the “Check out Repository” icon.
If you position on line zero (the line above the first line), you can check the repository in or out manually by clicking on the icon to the right.
When you want to see what changes were made, and when, and why, you can go to File->Version Control->History.
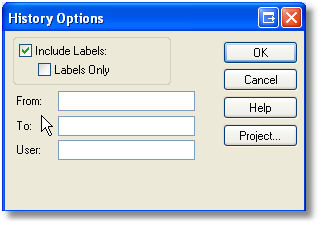
The History Options dialog box allows you to enter some filtering criteria, so you can display only the History you want to display. Fill in the options you want, and click OK.
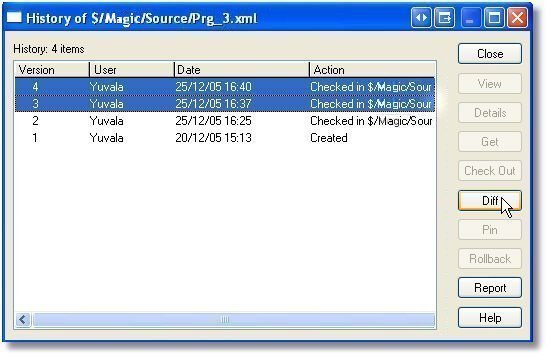
Now you will see a list of all the changes. You can select two of the changes, then choose Diff.
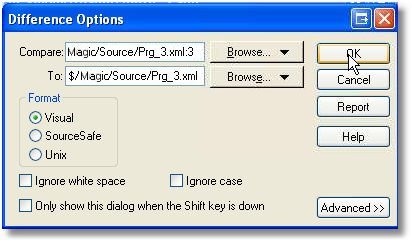
This dialog box allows you to choose how to compare the versions. Make your selections, then click OK.

You'll see the two files you were comparing, side by side. Lines that have been changed, or added, or deleted, will be color-coded.

If you are using CVS, selecting File->Version Control->History immediately brings up the history for the object being parked on. If the cursor is on the header line, then it brings up the check-in check-out history for the repository itself.
