How Do I Reuse Magic xpa Objects Across Projects? (Magic xpa 3.x)
The Magic xpa studio provides a very good ability to reuse objects within one project. By defining your models and data sources in their repositories, you can save time when writing your programs. However, you can take this a step further by creating a library of models, data sources, and programs that are reusable across many projects. Not only that, but you can upgrade the library without changing the project that uses it.
These libraries are called Magic xpa components. You can create a component from any Magic xpa project, and deploy the component as either an .edp or an .ecf file. You have total control over what parts of the application go into which component, so you can created different components with different abilities. This is particularly useful for commercial applications, where some features may be turned off for cheaper versions of the product.
-
Decide what objects you want exposed in the component. Give those objects public names.
-
Select Options->Interface Builder->Magic xpa. The Magic xpa Component Interface Builder Wizard will appear. Click Next.
-
The next screen allows you to modify an existing component, or to create a new one. Click the New button to create a new component.
-
You will now be on the Component and Project Settings dialog box. There are a number of items you can specify here; press F1 to get a more detailed description of them. You must, however, specify the Component Name and the Project File name. Click Next.
-
Now you will be on the Add Repositories dialog box. Here you can decide which repositories you want to have visible in your component. Use the buttons to move items from the “Available” to the “Selected” column or the reverse. Then click Next.
-
You will then be presented with a series of dialog boxes that allows you to select items from each of the repositories you selected. Select only the items you want to be visible in your component. Here we are adding the Models to the component.
-
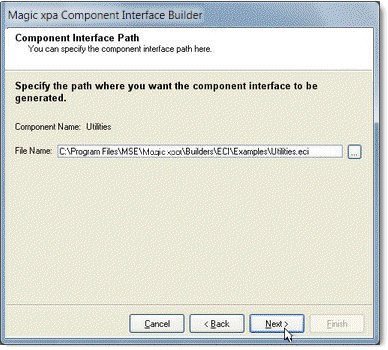
Next you will be prompted for the path for the .eci, or Magic xpa Component Interface file. This is the file that will be used to bring the component in to the project that uses it. Click Next.
-
Finally, you will be presented with a screen that summarizes your choices. Click Finish to create your component, or use the Back button to make changes.
When the .eci file has been generated, you will get a “SUCCESS” message and your component is ready to use.
Note: The .eci file is a text file, and has a syntax similar to the magic.ini file. You can edit it manually without Interface builder, if you like.
Now, your component is ready for use.
How Do I Load a Component Into My Project?
