How Do I Allow the End User to Dynamically Export Data? (Magic xpa 4.x)

You can allow the user to dynamically export data from any screen, using the Print data utility. This utility works much like a report generator. It allows the user to choose the format of the output, which fields are included, and in what order the fields will be printed.
When creating a new application, the End User Functionality component is loaded, by default, into your application. If you have an existing application without this component, you can add it to the CRR from the AddOn directory.
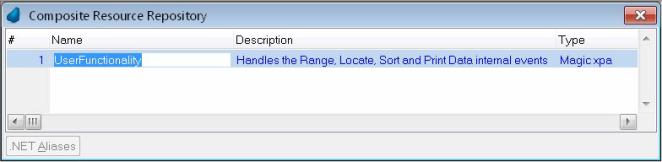
Note: Because the component is open source, you can customize it. For instance, suppose you only want the user to Range on certain fields. You can add a special character to those fields and change the component so only those fields show in the selection box. You could also allow each user to save certain range criteria by name, to use at a later date or for special reports.
-
Create a task that lists all the records and fields the user is likely to be interested in. The quickest way to do that is to create a Browse program with the Ctrl+G program generator (See How Do I Create a Quick Browse Program?). In this program, set Task Properties->Options->Print Data to Yes.
-
Now, when the program is run, the user can use the runtime Print data utility (Ctrl+P, or Options->Print data) to print any data that shows on the form, as explained below.
Now, the user can export data from your data view. Here is how the user would do it.
-
Run the program.
-
When the list of records comes up, use the Sort and Range options as desired to create a subset of records in the desired sort order.
-
Press Ctrl+P (Options->Print Data). The Print Data dialog box will appear. Select the options according to what kind of output you need, and click Next >>.
-
Your next dialog will show a list of all the columns in the data view. If you don’t want a column to print, set the Column Order for that column to zero. Otherwise, you can renumber the columns to change the order on the output file.
In this case, we are printing Name, City, and Phone, in that order.
Then click Finish.
-
Your data will now be output to the file. Since we chose an XML file, the file is in XML format, but it could also have been HTML or CSV.
Since we chose “Create and Open”, the XML will be opened by whatever program is used for XML on this computer.
Hint: You can save your data as type=XML, but use ‘.xls’ as the file name extension. Then it will be opened in Excel using the Excel XML formatting, which gives you some nice formatting and header options.